Mcspiedoboston now shares with you the article How to Make a Wedding Cake, Part 3: The Assembly on our Food cooking blog.
Bạn Đang Xem: How to Make a Wedding Cake, Part 3: The Assembly
Inspired by conversations on the Food52 Hotline, we’re sharing tips and tricks that make navigating all of our kitchens easier and more fun.
Xem Thêm : This Super-Creamy Vanilla Ice Cream Required *Many* Taste Tests to Perfect
Today: This week, we’ve already covered baking a wedding cake and whipping up the fillings and frostings — now it’s time to assemble. Take a deep breath, rub your lucky rabbit’s foot, and let’s get started.
The band is warming up, the Champagne is chilling on ice, and the white doves are waiting patiently for their big moment — it’s the wedding day! If you’ve been following along with this series, you’ve already baked your cake, made your fillings and frostings, and assembled your equipment. So tie on your apron, take a deep breath, and put on some Enya — it’s time to assemble the cake.
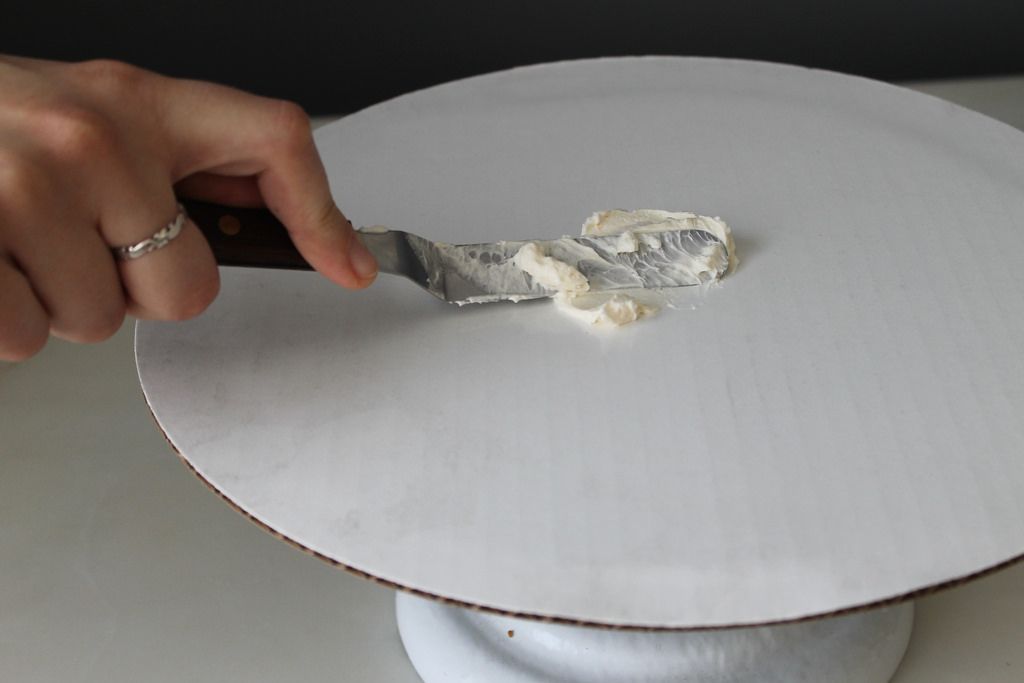
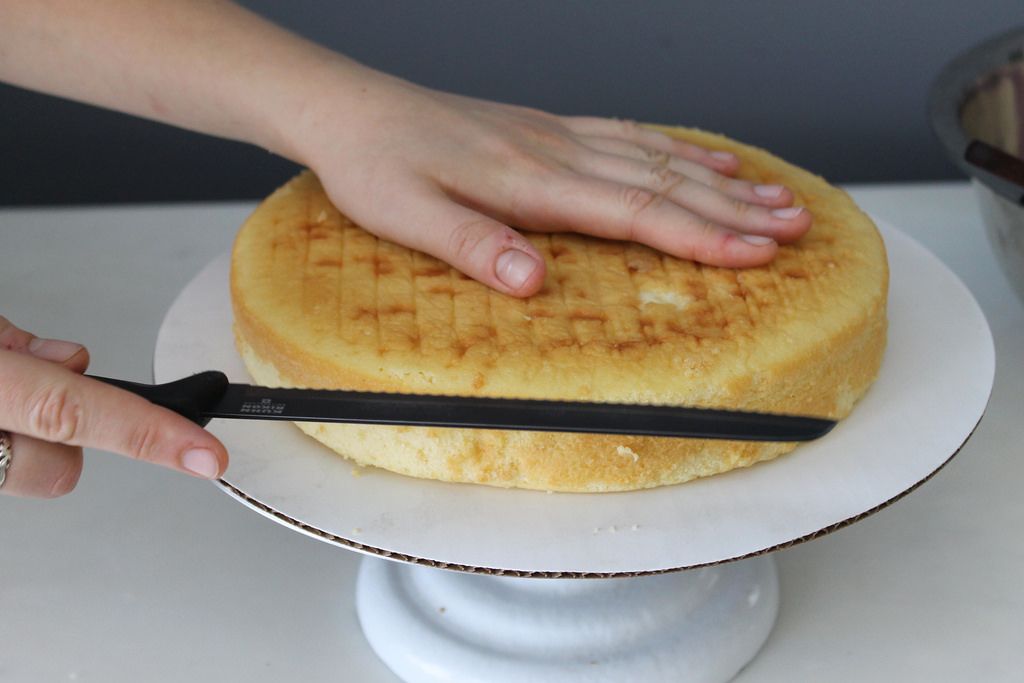
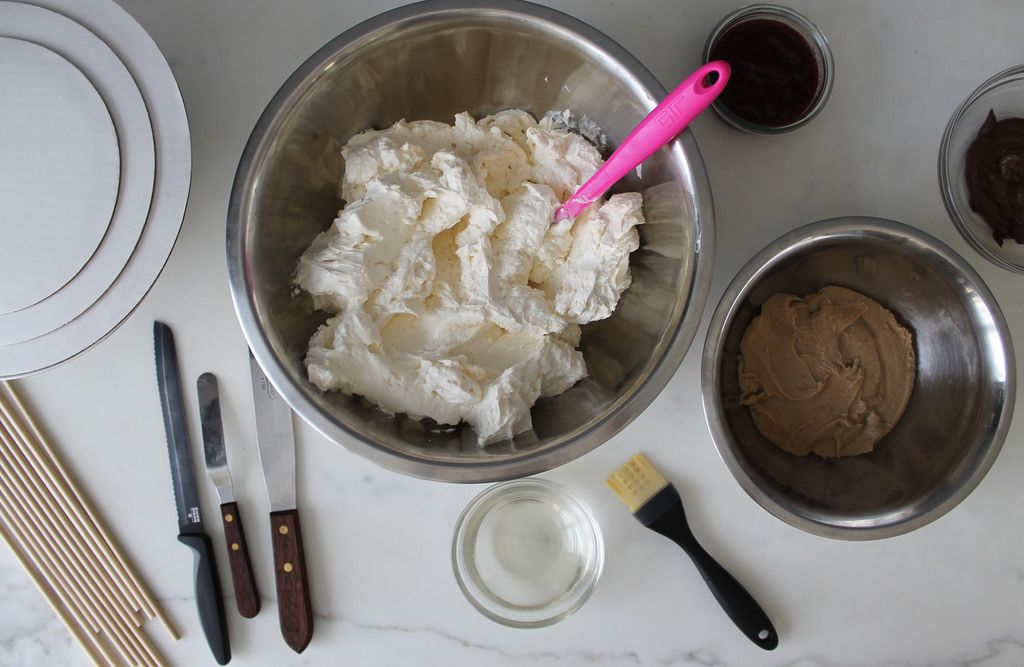
First of all, make sure your frostings are all at room temperature; re-whip them if necessary so that they’re easy to spread. Grab the largest of the cake circles you purchased and place it atop your rotating cake stand. Spread a dab of buttercream on the largest cardboard circle, then place one of the largest cakes on top, flat side-down. Place it on the cake stand and, using your serrated knife, trim off the top so that the cake lies flat and even. When slicing and trimming cakes, I find it’s helpful to rotate the cake itself and keep the knife steady.
More: Don’t be intimidated — here’s everything you need to know about slicing cake layers.
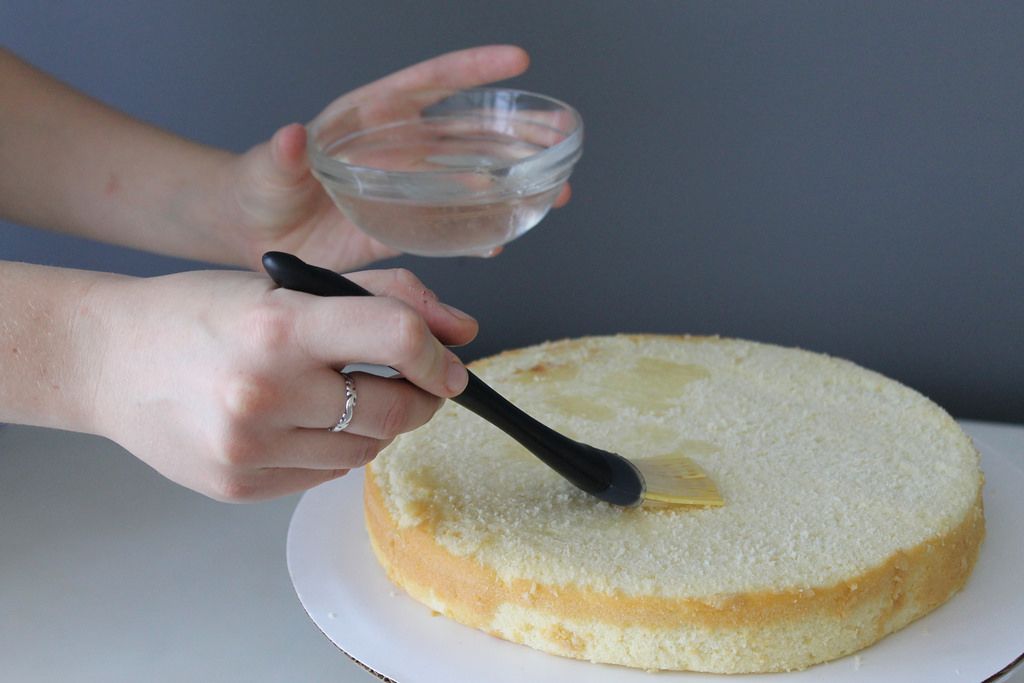
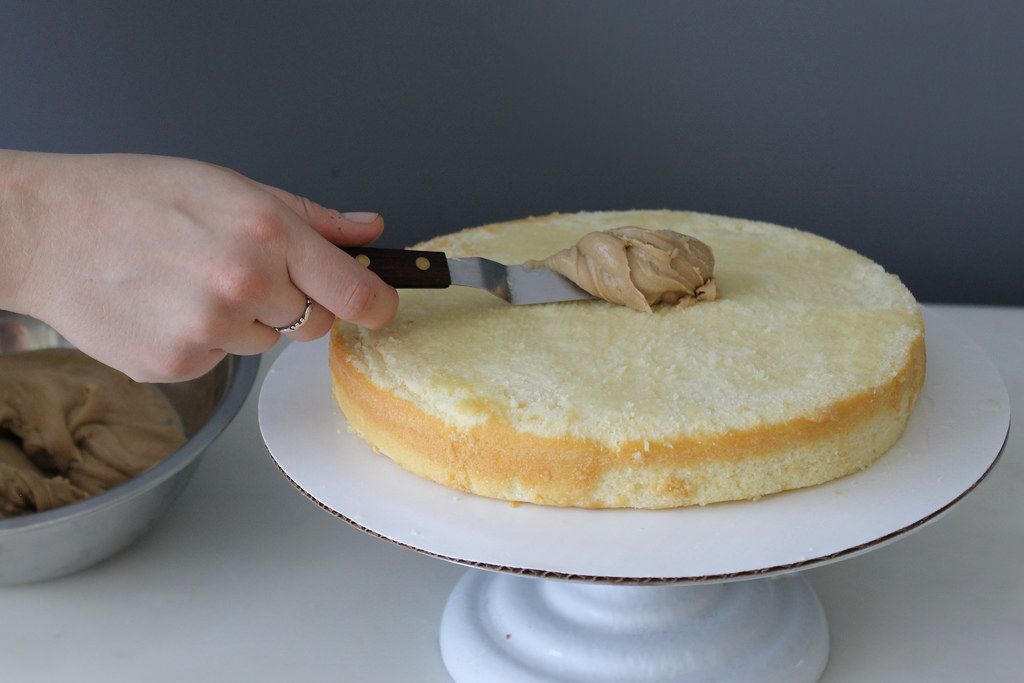
Brush some simple syrup onto the trimmed cake. This will keep it from drying out during the journey from your kitchen to the dessert table. Spread a layer of frosting or ganache almost to the edge of the cake, but not quite. Pipe a layer of Swiss buttercream around the edge of the filling. This will act as a dam, keeping the filling from mixing with the pure white of the Swiss buttercream. Repeat with the next two layers: trim each cake, layer on the filling, and pipe on buttercream.
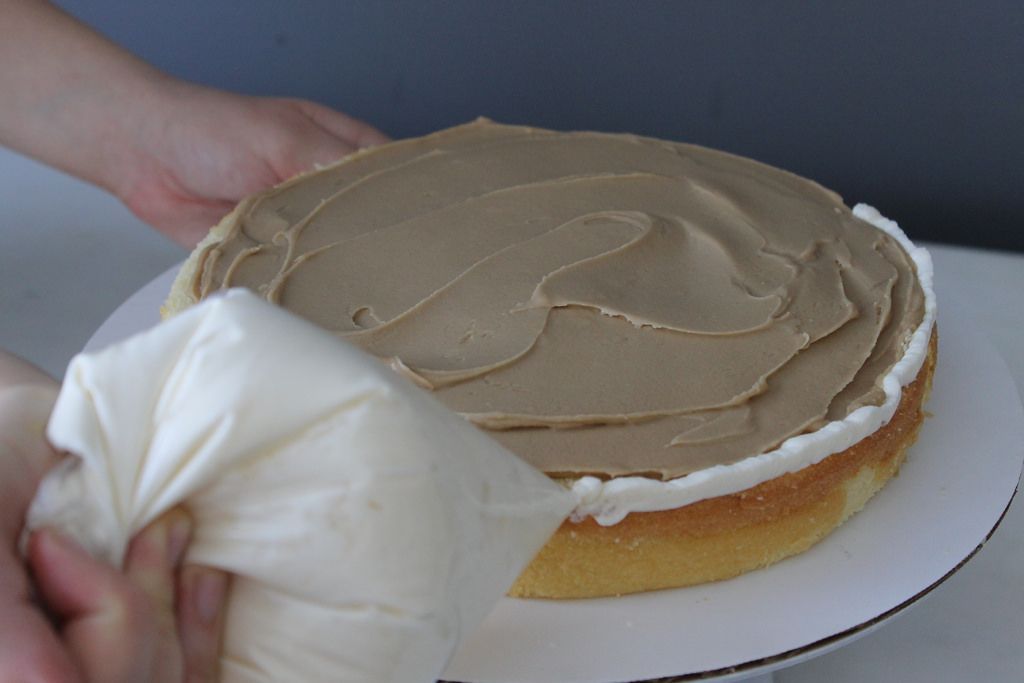
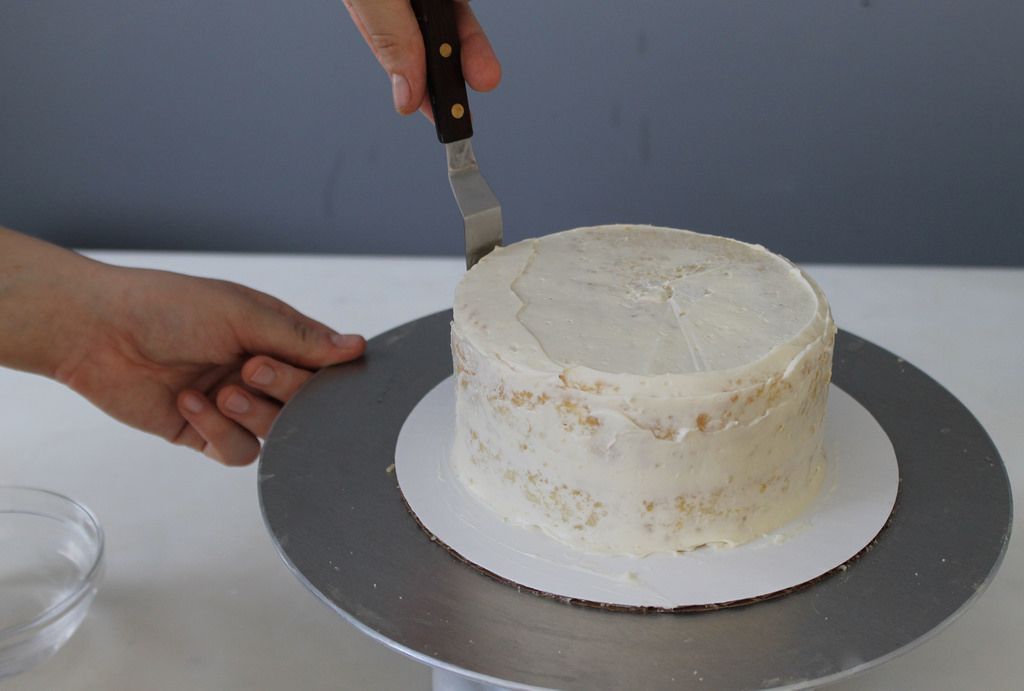
Dollop a healthy amount of buttercream on top of the cake (yes, over the icing). Gently spread it over the top, then down over the sides. Make a very thin layer of frosting over the whole thing, concentrating on making it smooth. Don’t worry if you get some crumbs in it; this part is called the crumb layer, and it’s there to make sure the final icing layer is unblemished. Think of it as fly paper for cakes. Repeat with the other two cakes.
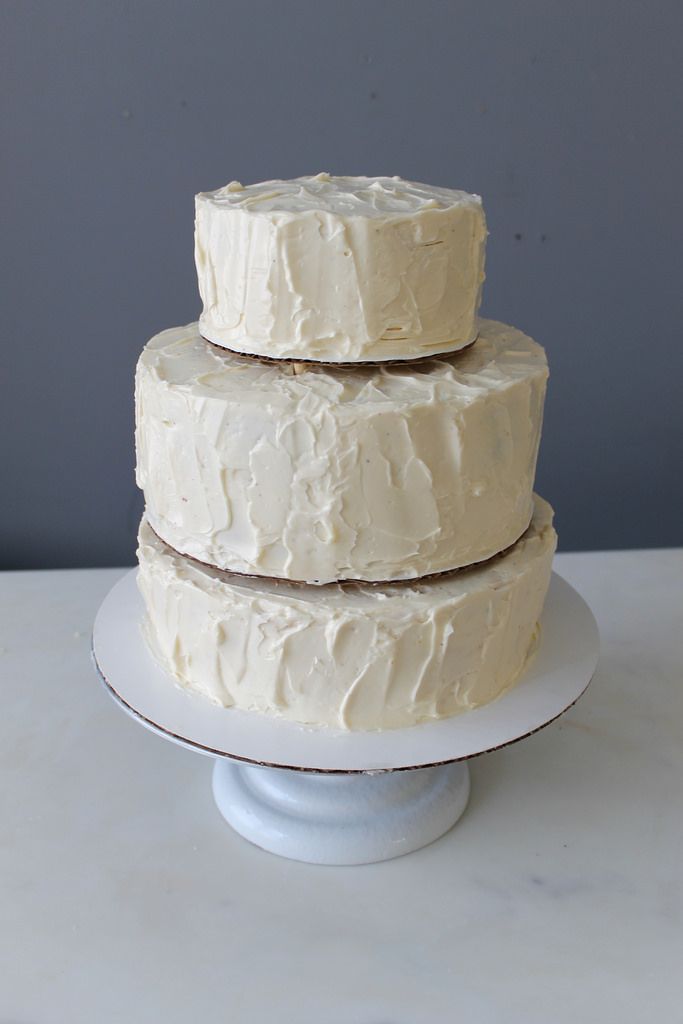
If you have room, refrigerate your cakes for an hour or so to firm up the icing. If you don’t have the time or the space, though, that’s okay. Drop a large heap of icing on top of the cake, and smooth it down over the sides, much as you did with the crumb layer. Spread the icing gingerly so as not to rustle up any crumbs stuck on the initial icing layer. Unless you’re a professional, you probably won’t be able to make a perfectly smooth wall of icing. I embraced imperfection, and used my spatula to make a stuccoed pattern. We’re also big fans of the swirl around here.

Repeat the same process with the next two tiers: Even out the cakes, layer on the filling, pipe Swiss buttercream around the edges, then frost the whole thing. Swirl, stucco, or otherwise decorate the exterior of the cake to your whim — just make sure the design stays consistent among all three layers. If possible, keep your cakes refrigerated until assembly time.

Before transporting your cakes to the venue, grab your dowels. Measure them to be a centimeter or so taller than the cake, mark them off with a Sharpie, and cut five of them to that exact height. I used a knife to saw through mine, then evened them off with a nail file. If you’re extra-handy and have a bandsaw, use that — otherwise, scissors or knives are the way to go.
Put a large tip on a pastry bag, and fill it with your re-whipped Swiss buttercream. Twist the end or secure it with a rubber band so none will leak during transport.

Pack everything up! Put your cakes inside inside sturdy boxes — we used empty drawers. Bring the pastry bag full of icing, the offset spatula, the dowels, and scissors. Think of it as the bag you pack before you head to the hospital to give birth — except instead of having a baby, you’re having a wedding cake.
Once you get to the venue, check with the caterers to see where you should assemble your masterpiece. Make sure everything on the surface is set up correctly, because you won’t want to move the cake after you’ve put it together. Carefully insert the dowels in the largest cake — one in the center, and four around it in a square — in an area that is just smaller than the next-largest cake. The dowels should all be visible, and of uniform height. You will then (with the help of a spatula and hopefully a friend or two) carefully, breathlessly, pick up the next-largest cake, center it over the largest one, and lower it down. You want the smaller cake to rest just above the larger one, but not touch it. Don’t worry about the gap — you’ll fill it in with icing.
Using the pastry bag, pipe icing into the gap between the cake tiers. Since the cake is already so large and eye-catching, it’s best to keep it simple. I advise practicing on a plate or some waxed paper before piping onto the cake, so you can make your icing as uniform as possible. If you’re not confident in your skills, you can just pipe small, consecutive rounds by pushing out icing, then releasing pressure and pulling away.
More: Check out some options for icing styling here.
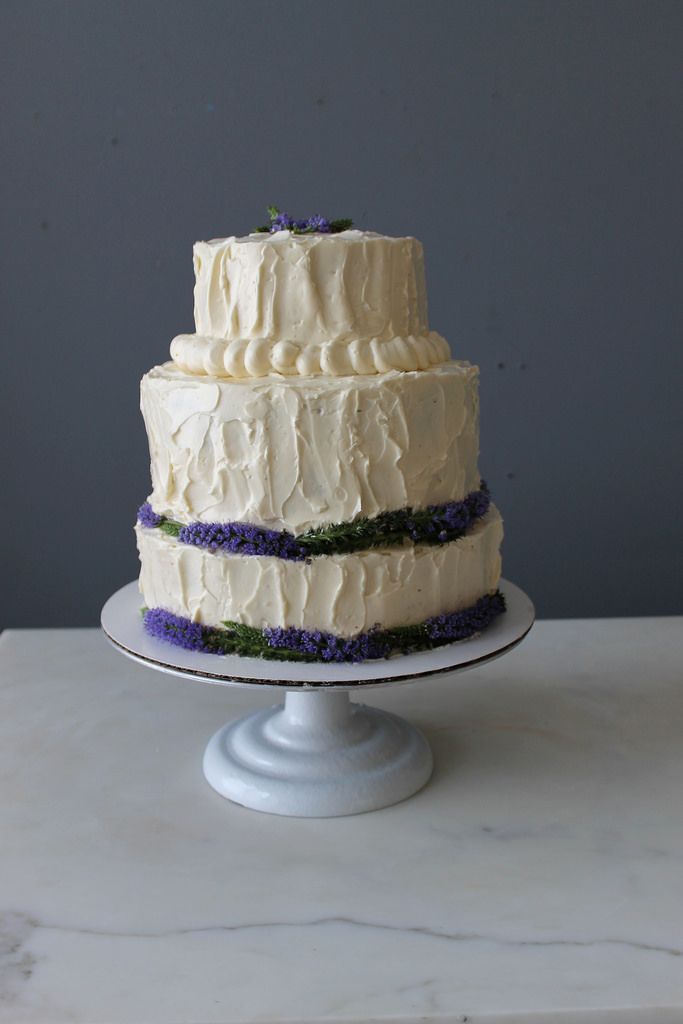
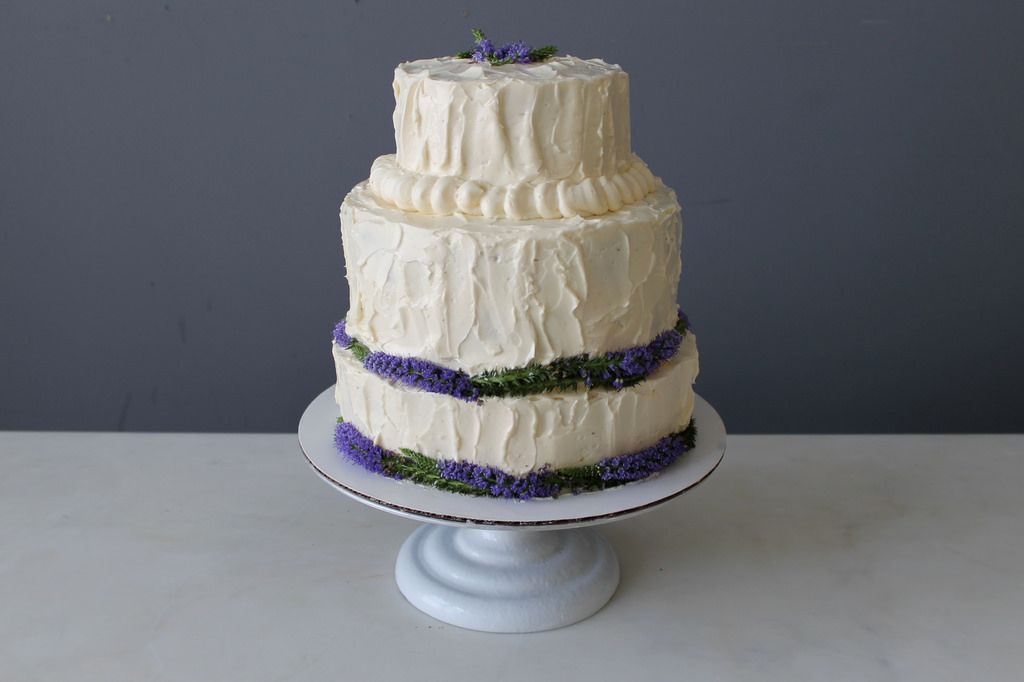
All that remains is decoration! The bride and groom wanted to limit the decoration to some fresh flowers, and I, having not piped a frosting rose in several years, was happy to oblige. Strategically arrange your blooms to cover up any imperfections, then use your pastry bag to make any final touch-ups. Then walk away. It’s time to put on your party outfit and chug a glass of Champagne, then prepare yourself for the waves of praise that will be lavished upon you.
You have made a wedding cake. And it was good.
Have you ever made a wedding cake? Any tips for novices? Let us know in the comments!
Photos by Catherine Lamb
Nguồn: https://mcspiedoboston.com
Danh mục: Food